Learn how to set up Linux in a virtual machine using VMware Player with our step-by-step guide. Experience the benefits of Linux without affecting your PC’s system.
Setting up Ubuntu Linux with VMWare Player.
Introduction
In the pursuit of your Engineering Studies, there are numerous justifications for utilizing Linux. It provides a conducive atmosphere for programming due to the abundance of accessible tools and certain utilities that are exclusively accessible through Linux. If you’re running a Windows PC, you have a variety of choices for installing Linux.
- Use Putty (or other terminal emulation software) to log into a remote Linux server via SSH.
- Run Linux on your local Windows PC Using:
- Dual boot computer
- This can be time consuming to setup
- This is good if you are doing lots of computational work or graphics
- Use cygwin
- People rarely do this anymore.
- Use a Linux from a bootup disk.
- This is great for certain uses
- Dual boot computer
- You can set up Linux to run in virtually using VMware player – So EASY!
- There are other utilities you can use such as VirtualBox.
- The tutorial we created uses VMWare Player
Don’t hesitate to give it a shot, and I mean it! Setting it up shouldn’t take more than a few minutes. The guide employs Ubuntu Linux.
The beauty of utilizing VMWare Player is the ability to run diverse types of Linux concurrently in separate players. This provides you with an opportunity to assess and determine which one suits your preferences the most.
Also Read: Adobe Premiere Pro Review 2023
What is VMWare Player?
VMware Player is a software that allows users to effortlessly generate and operate virtual machines on a PC running Windows or Linux. For further details, you can visit the VMware website by clicking here.

What is Ubuntu?
Ubuntu is a comprehensive Linux-based operating system designed for desktop usage and available for free, with support from both the community and professionals. It is apt for deployment on both desktops and servers. You can find more information about Ubuntu by clicking here.

Setting up Ubuntu using VMWare Player
1) Download & Install VMWare Player.
2) Download Ubuntu by choosing the option of downloading it onto a CD or USB stick. Remember to choose either 32-bit or 64-bit.
3) Open the VMWare player application. MAKE SURE TO RUN THE PROGRAM AS AN ADMINISTRATOR. Click on Create a New Virtual Machine.

4) Choose install from Installer disc image file (iso) and browse for the Ubuntu .iso you just downloaded. Click Next.

5) Enter the required information then click Next.

6) Enter a name you wish to use for the virtual machine, or you may leave it as is. Click Next.

7) Leave the next box as is and click Next.

8) Click Finish to finalize your virtual machine.

9) If you are prompted to install VMWare tools, then go ahead and do so.
- Installing VMWare tools will support faster graphics performance along with additional benefits.
- more – https://docs.vmware.com/en/VMware-Workstation-Pro/index.html

10) You will see this:
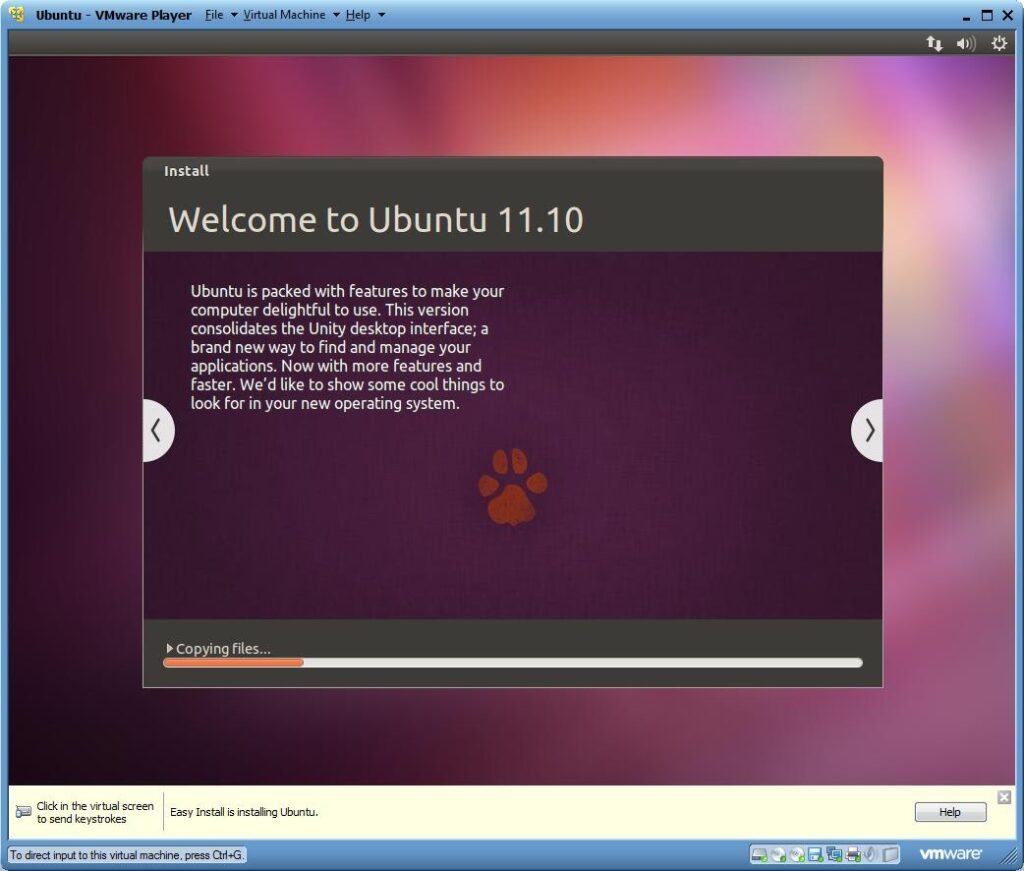
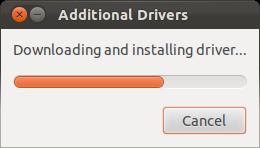
11) Once fully installed install the VMWare Client Tools driver.

12) After successfully installing the driver, your new virtual machine should be fully set up!
- We will test our virtual machine by using Ubuntu to communicate with the ‘maegrad’ server.
Testing our VM with SSH
1) Open the Terminal in Ubuntu.
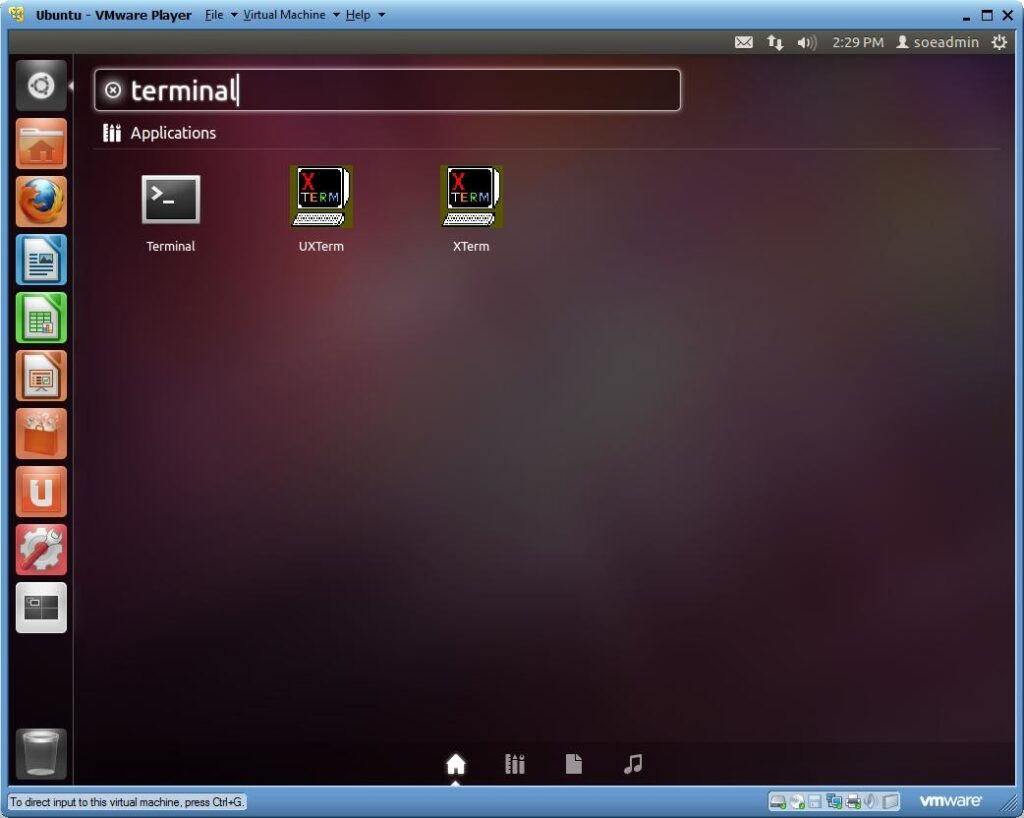
2) Open the Terminal in Ubuntu.
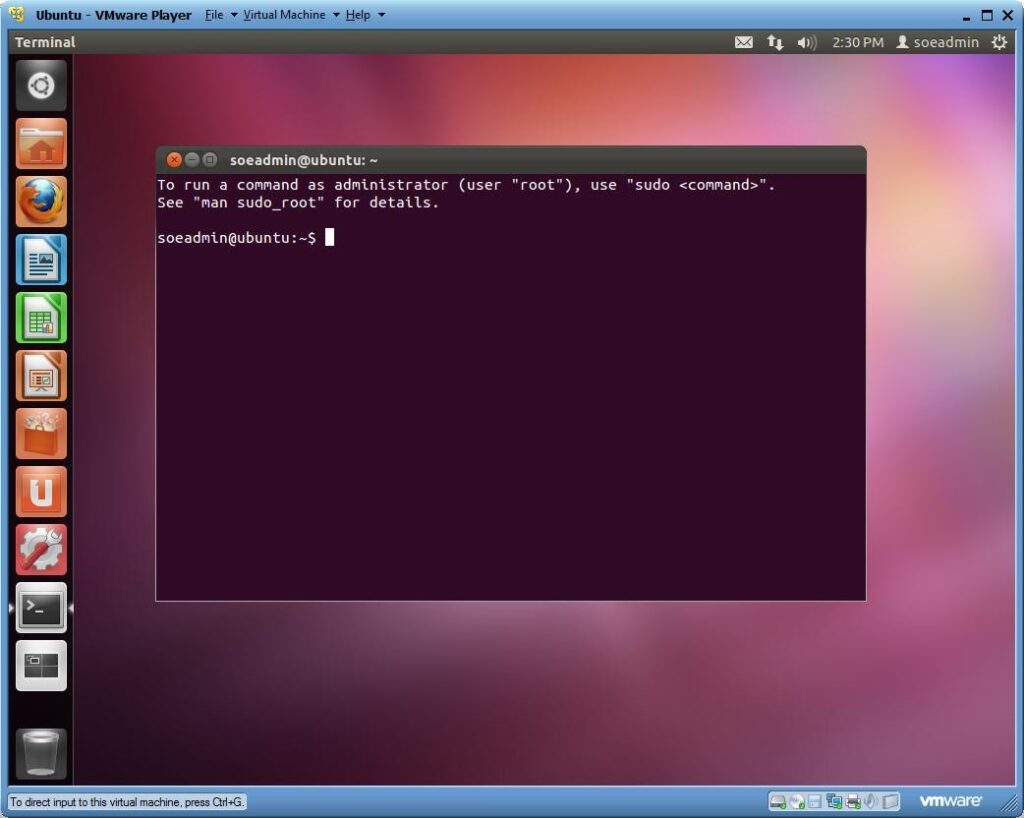
3) Now we can remotely connect to a linux server using SSH
- Type:
ssh username@servernamessh [email protected]Press Enter.
- Enter your password when prompted to do so.
Note: You may be prompted to verify the authenticity of the server you want to connect to.
- Do so by typing ‘yes’ when prompted.

4) If you want X11 forwarding to run for a specific host during your current ssh session do this:
- Type:
ssh -X username@servernamessh -X [email protected]Press Enter.
- Enter your password when prompted to do so.
- Note: This command will only enable X11 forwarding for your current session that you are connected to the maegrad server.
5) Congratulations – you have a Linux VM running!

